Adhesive connection
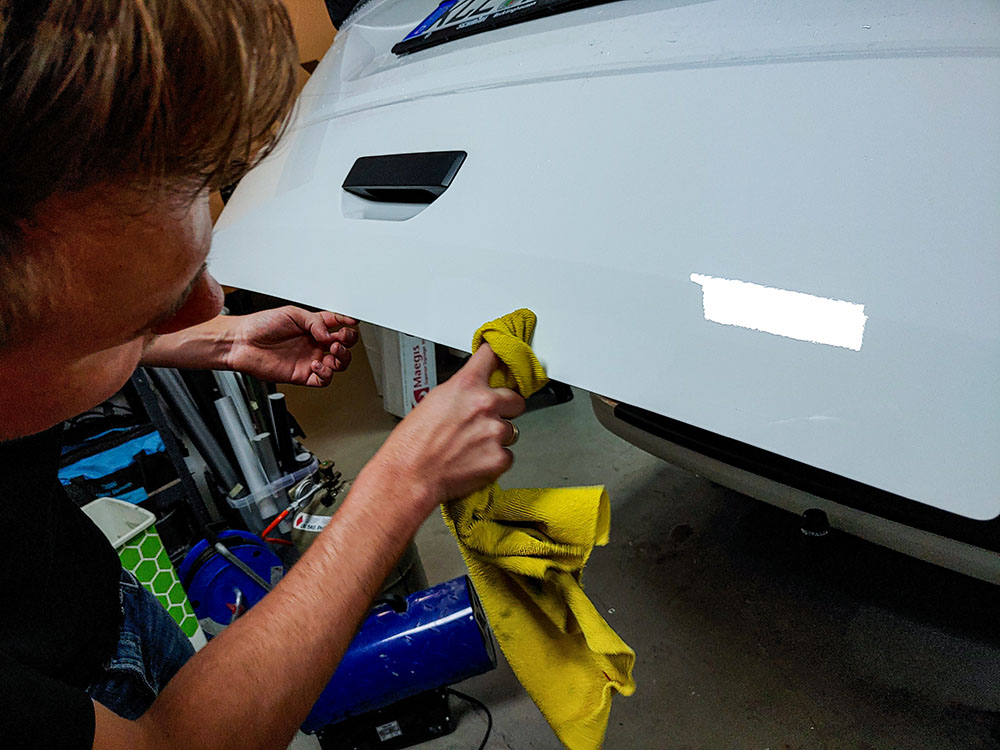
1. Cleaning
We use simple glass cleaners for pre-cleaning and then an isopropanol glass cleaner mixture (4/1) as final clearer before labeling.
In the case of persistent impurities, we recommend glass cleaners with Auto-Dress Cleaner!
Two. Position
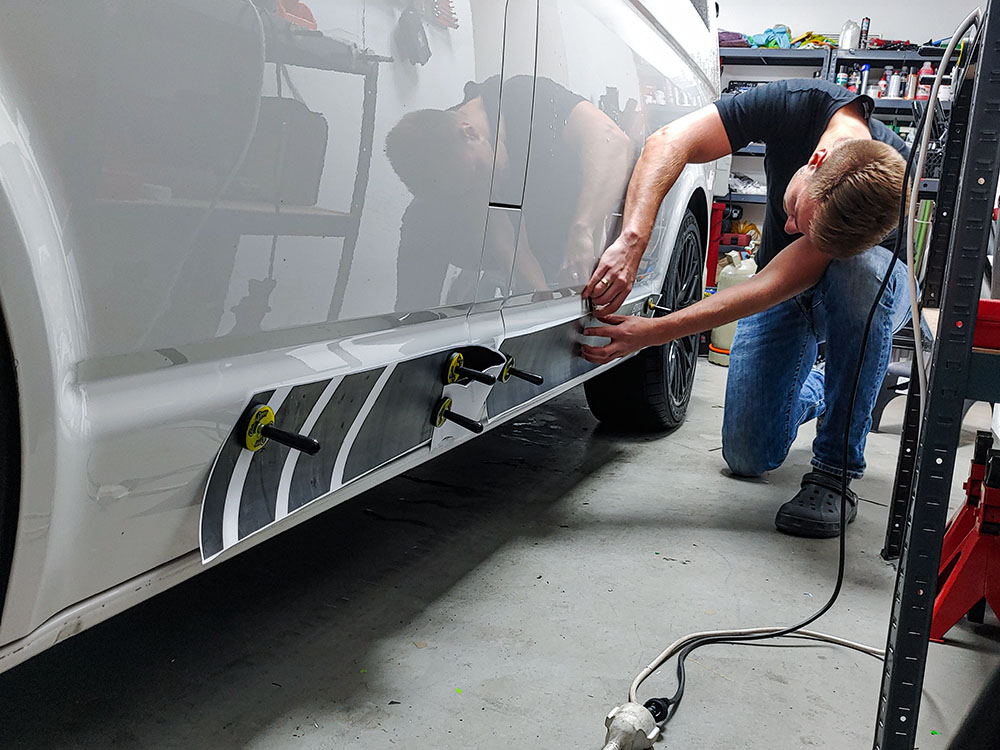
Before it comes to marking, attention must be paid to a thorough alignment/positioning. We recommend this Auto-Dress Assembly magnets or commercial crepe tape. The alignment always follows parallel to vehicle contours or door edges. Use a measuring tape for this.
3. Other
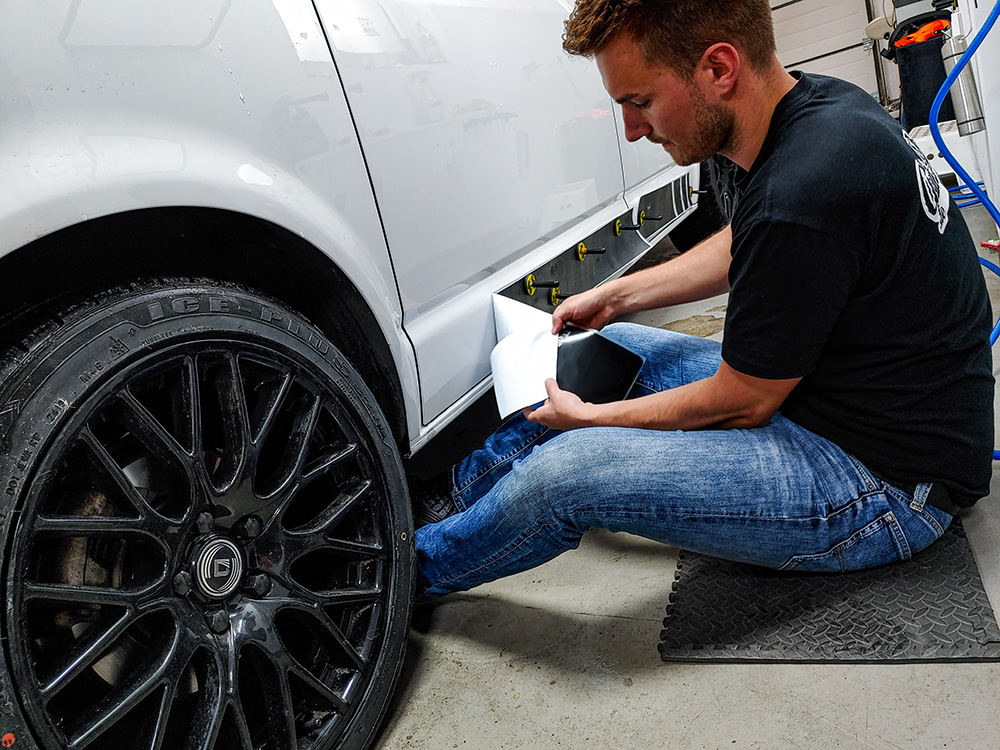
Before you start to release the silicone paper from the back, it is important to start the whole thing again. Then you can remove the silicone paper about 10 cm and wrap it with the nail.
4. Headings
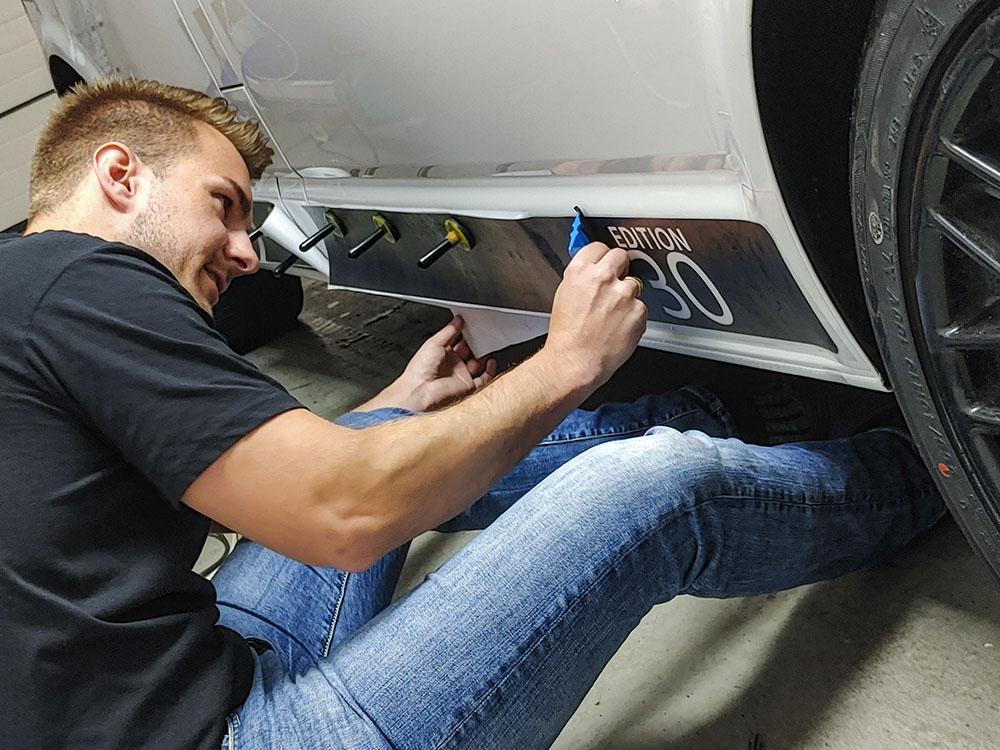
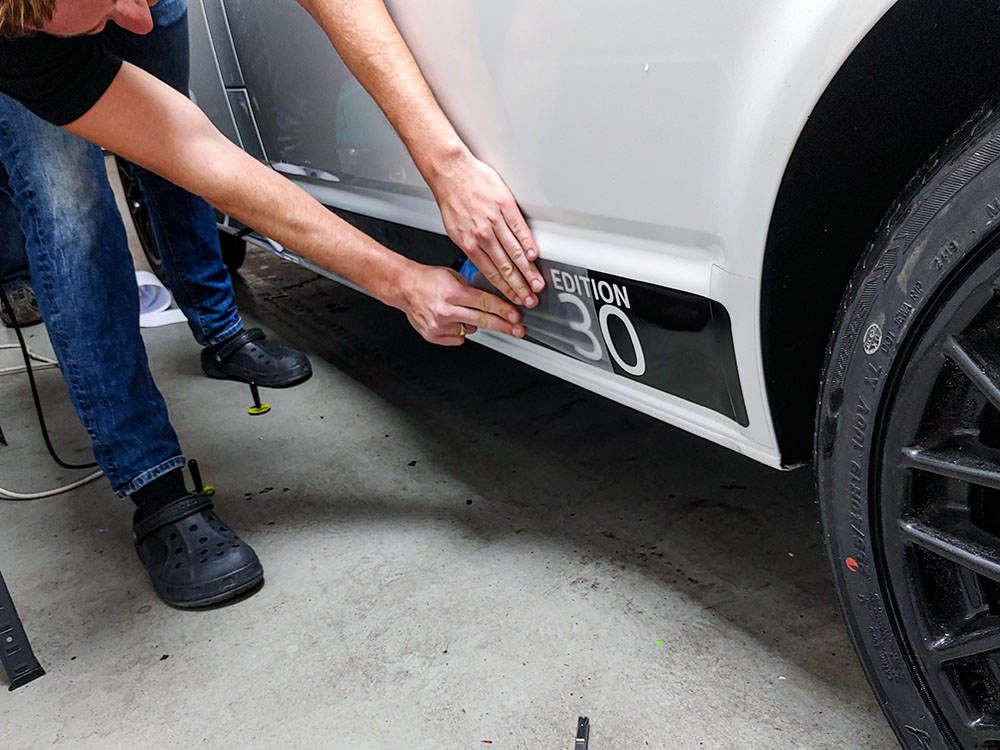
Apply the film to the desired position. Rakel with some pressure from the start of the sticker in the direction of the pulled-off silicone paper. During doctoring, the silicone paper is simultaneously drawn off to the same extent (see discount). The sticker must always be on tension to ensure bubble-free bonding. This is how you work in pieces until you reach the end.
Five. Stripping
Before the carrier film is stripped off, everything should be properly doctored again. If everything is solid, the carrier film can be drawn off slowly at a flat angle (see figure).
6. Cutting
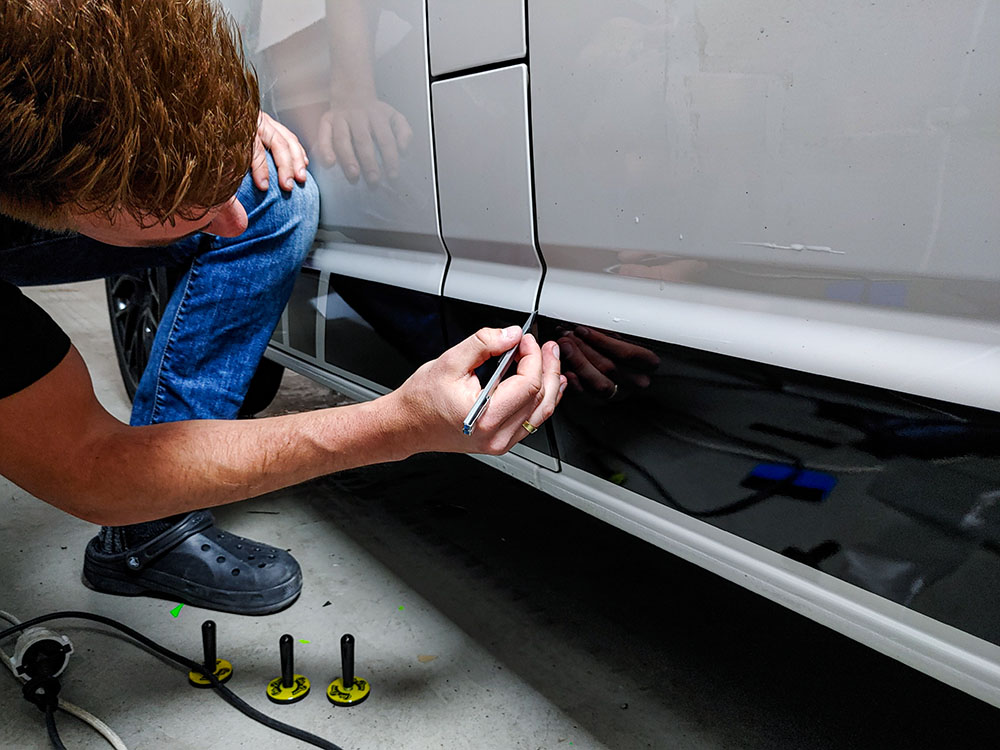
Leave the back of your knife (we recommend Deli-Cutter with 30° blade by Auto-Dress) guide from a vehicle edge and thus guide a straight cut along the contour.
7. Edit
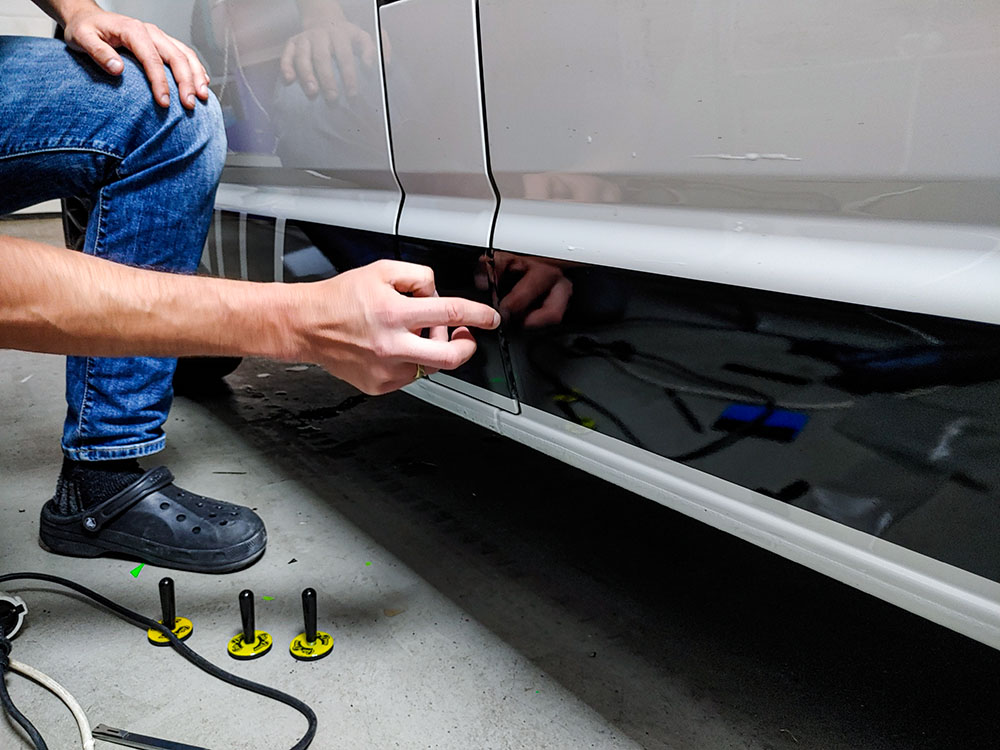
Drive with your finger 2-3 times along the edge of the vehicle, so the film continues to lie around the edge. Then you can press them with the doctor.
8. tempering
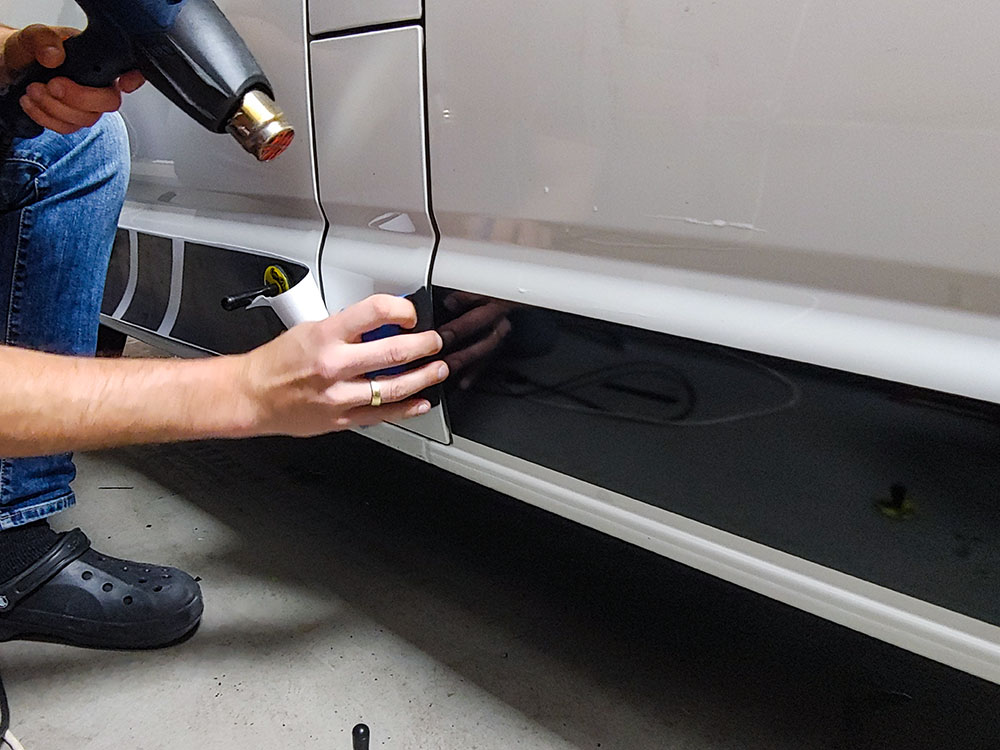
Leave the back of your knife (we recommend Deli-Cutter with 30° blade by Auto-Dress) guide from a vehicle edge and thus guide a straight cut along the contour.
